Work was a bit slow today, so I was sent home 4 hours early. Since the practice kits had arrived today with the last of the tools, I decided to set my first rivets on the practice kits to get a feel for it before doing it on the real thing.
The tools box was straight forward. Nothing difficult about the the build really. I think the instructions aren't 100% clear in this practice kit. The Big Gotcha for me on the tool box was the hinge. The instructions were not clear enough for ME to understand. I had to take the hing apart, flip on side of the hinge THEN cut to size. Instructions said the lid hing eyelets would be facing down. Ok, not sure how else the hinge would work if it was vertically flipped with the eyelets facing up. What they wanted was to flip the eyelets so the hinge sits flush to the INSIDE of the lid and the lower hing sits flush with the outside of the box. Anyhow. I cut it without flipping the hing and then realized what they really wanted after fitting the hinge. Had to cut it again making the hinge 1 rivet hole shy.
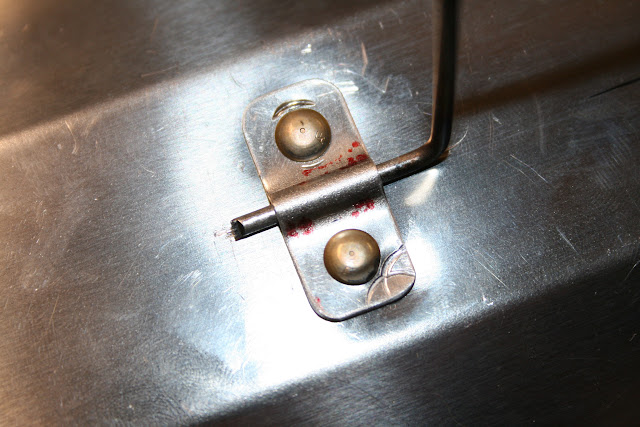
Setting the rivets with the squeezer was a no brainer. Easy peasy. The adjustable set holder is an EXCELLENT upgrade. HUGE time saver! Its was really nice to make adjustments on the fly. The rivets on the toolbox sides were set using the pneumatic squeezer. To try something different, remember this is where I want to make my mistakes, I bucked the hing rivets. Not bad either. First 2 or 3 rivets was a trial and error type thing just getting used to the pounding vibration and POWER of the gun. Having an adjustable valve a the air hose connection on the gun was great! First rivet was nearly flattened out but acceptable for the toolbox. After that, they only got better except for the last 2 rivets for the build, the hinge rivets. Had a hard time balancing the lid vertical while attempting to apply pressure on both ends of the rivets to set it. YUP...got a whopping smile. All in all, quite impressed with my first rivets. Oh, for got to mention, all dimples were set using the DRDT-2. That thing makes making dimples so mindless I won't bother describing how easy that piece is to use.
Pictures for memories really. my first riveted piece.
The Tool box how it arrives from Vans Aircraft.
The parts...
After deburring all parts, my first rivets set with the pneumatic squeezer.
All rivets nice and flush.
The completed tool box. Now it just needs and airplane to ride in the luggage compartment with tools at the ready.
Oh yea, the first smiles. Happened on the last 2 rivets!!! Jeez....
And the stupid hinge. If this was an actual airplane part, you better believe I would have ordered a new hinge before riveting.
Next up...the practice control surface...


No comments:
Post a Comment